
Our First Ski Experience
Our Experience
TL;DR: Within 48 hours of our first ski lesson, we bought our own ski gear. We’re gonna be hitting the slopes this coming season!
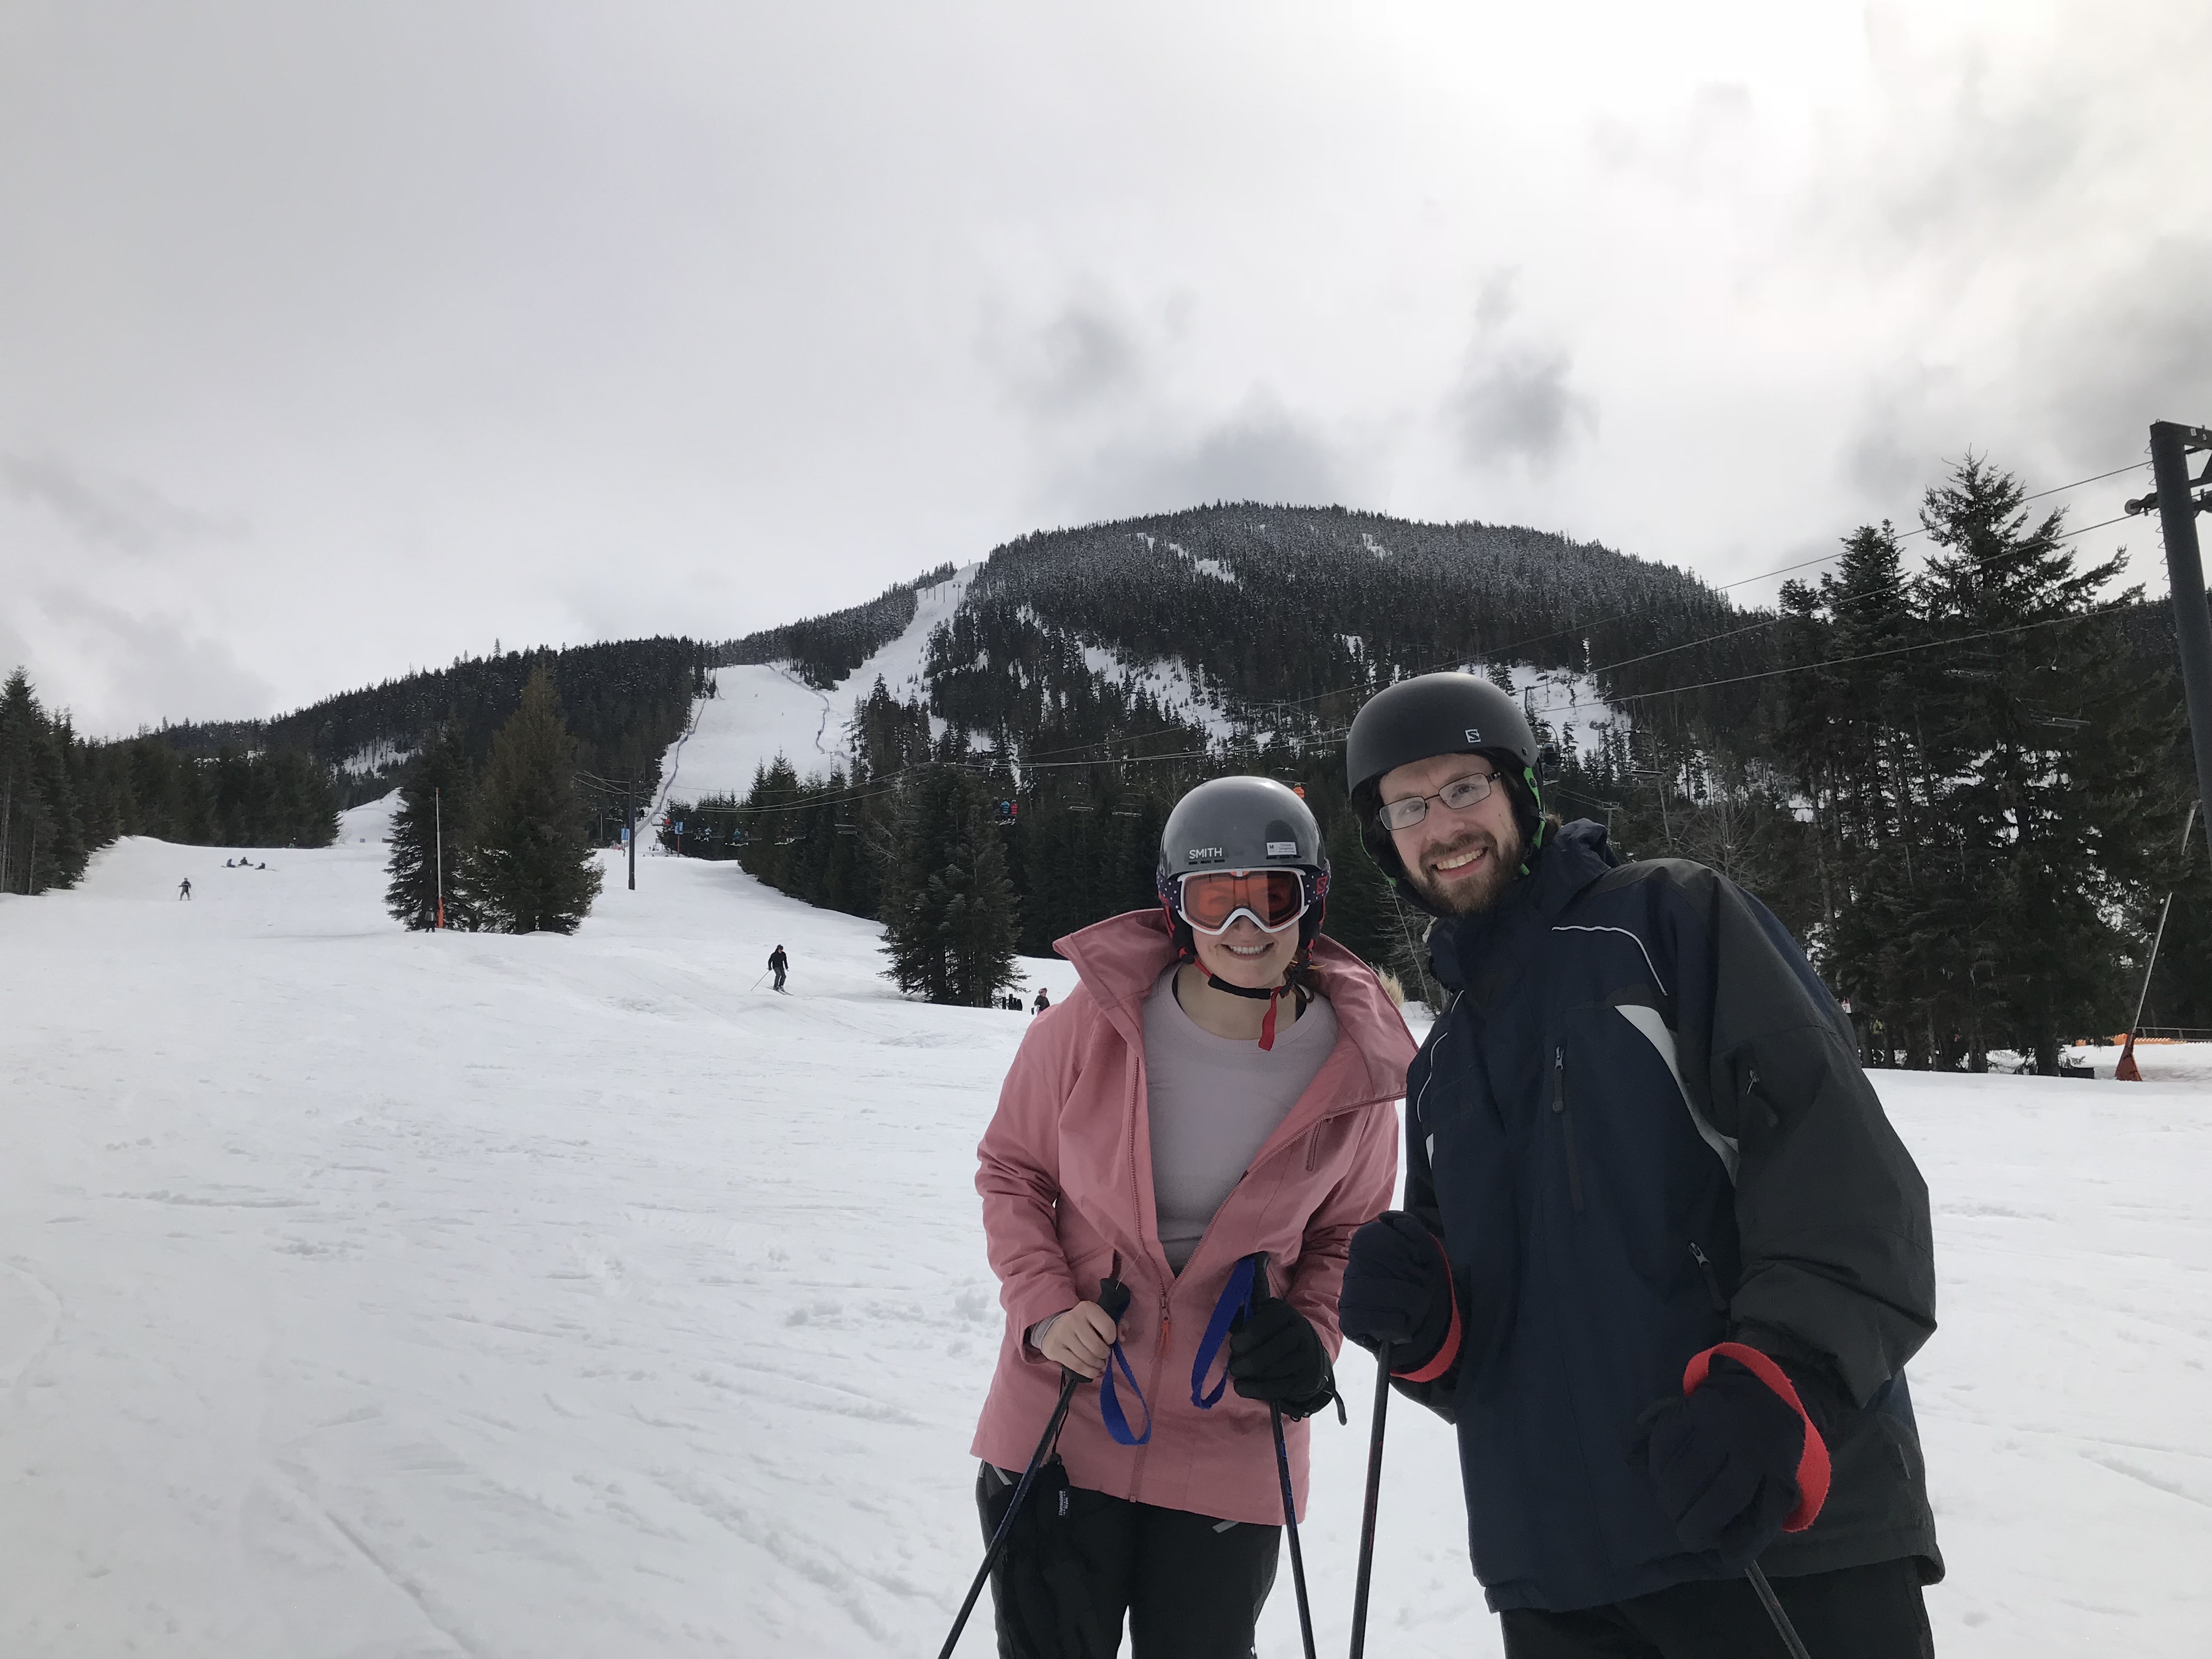
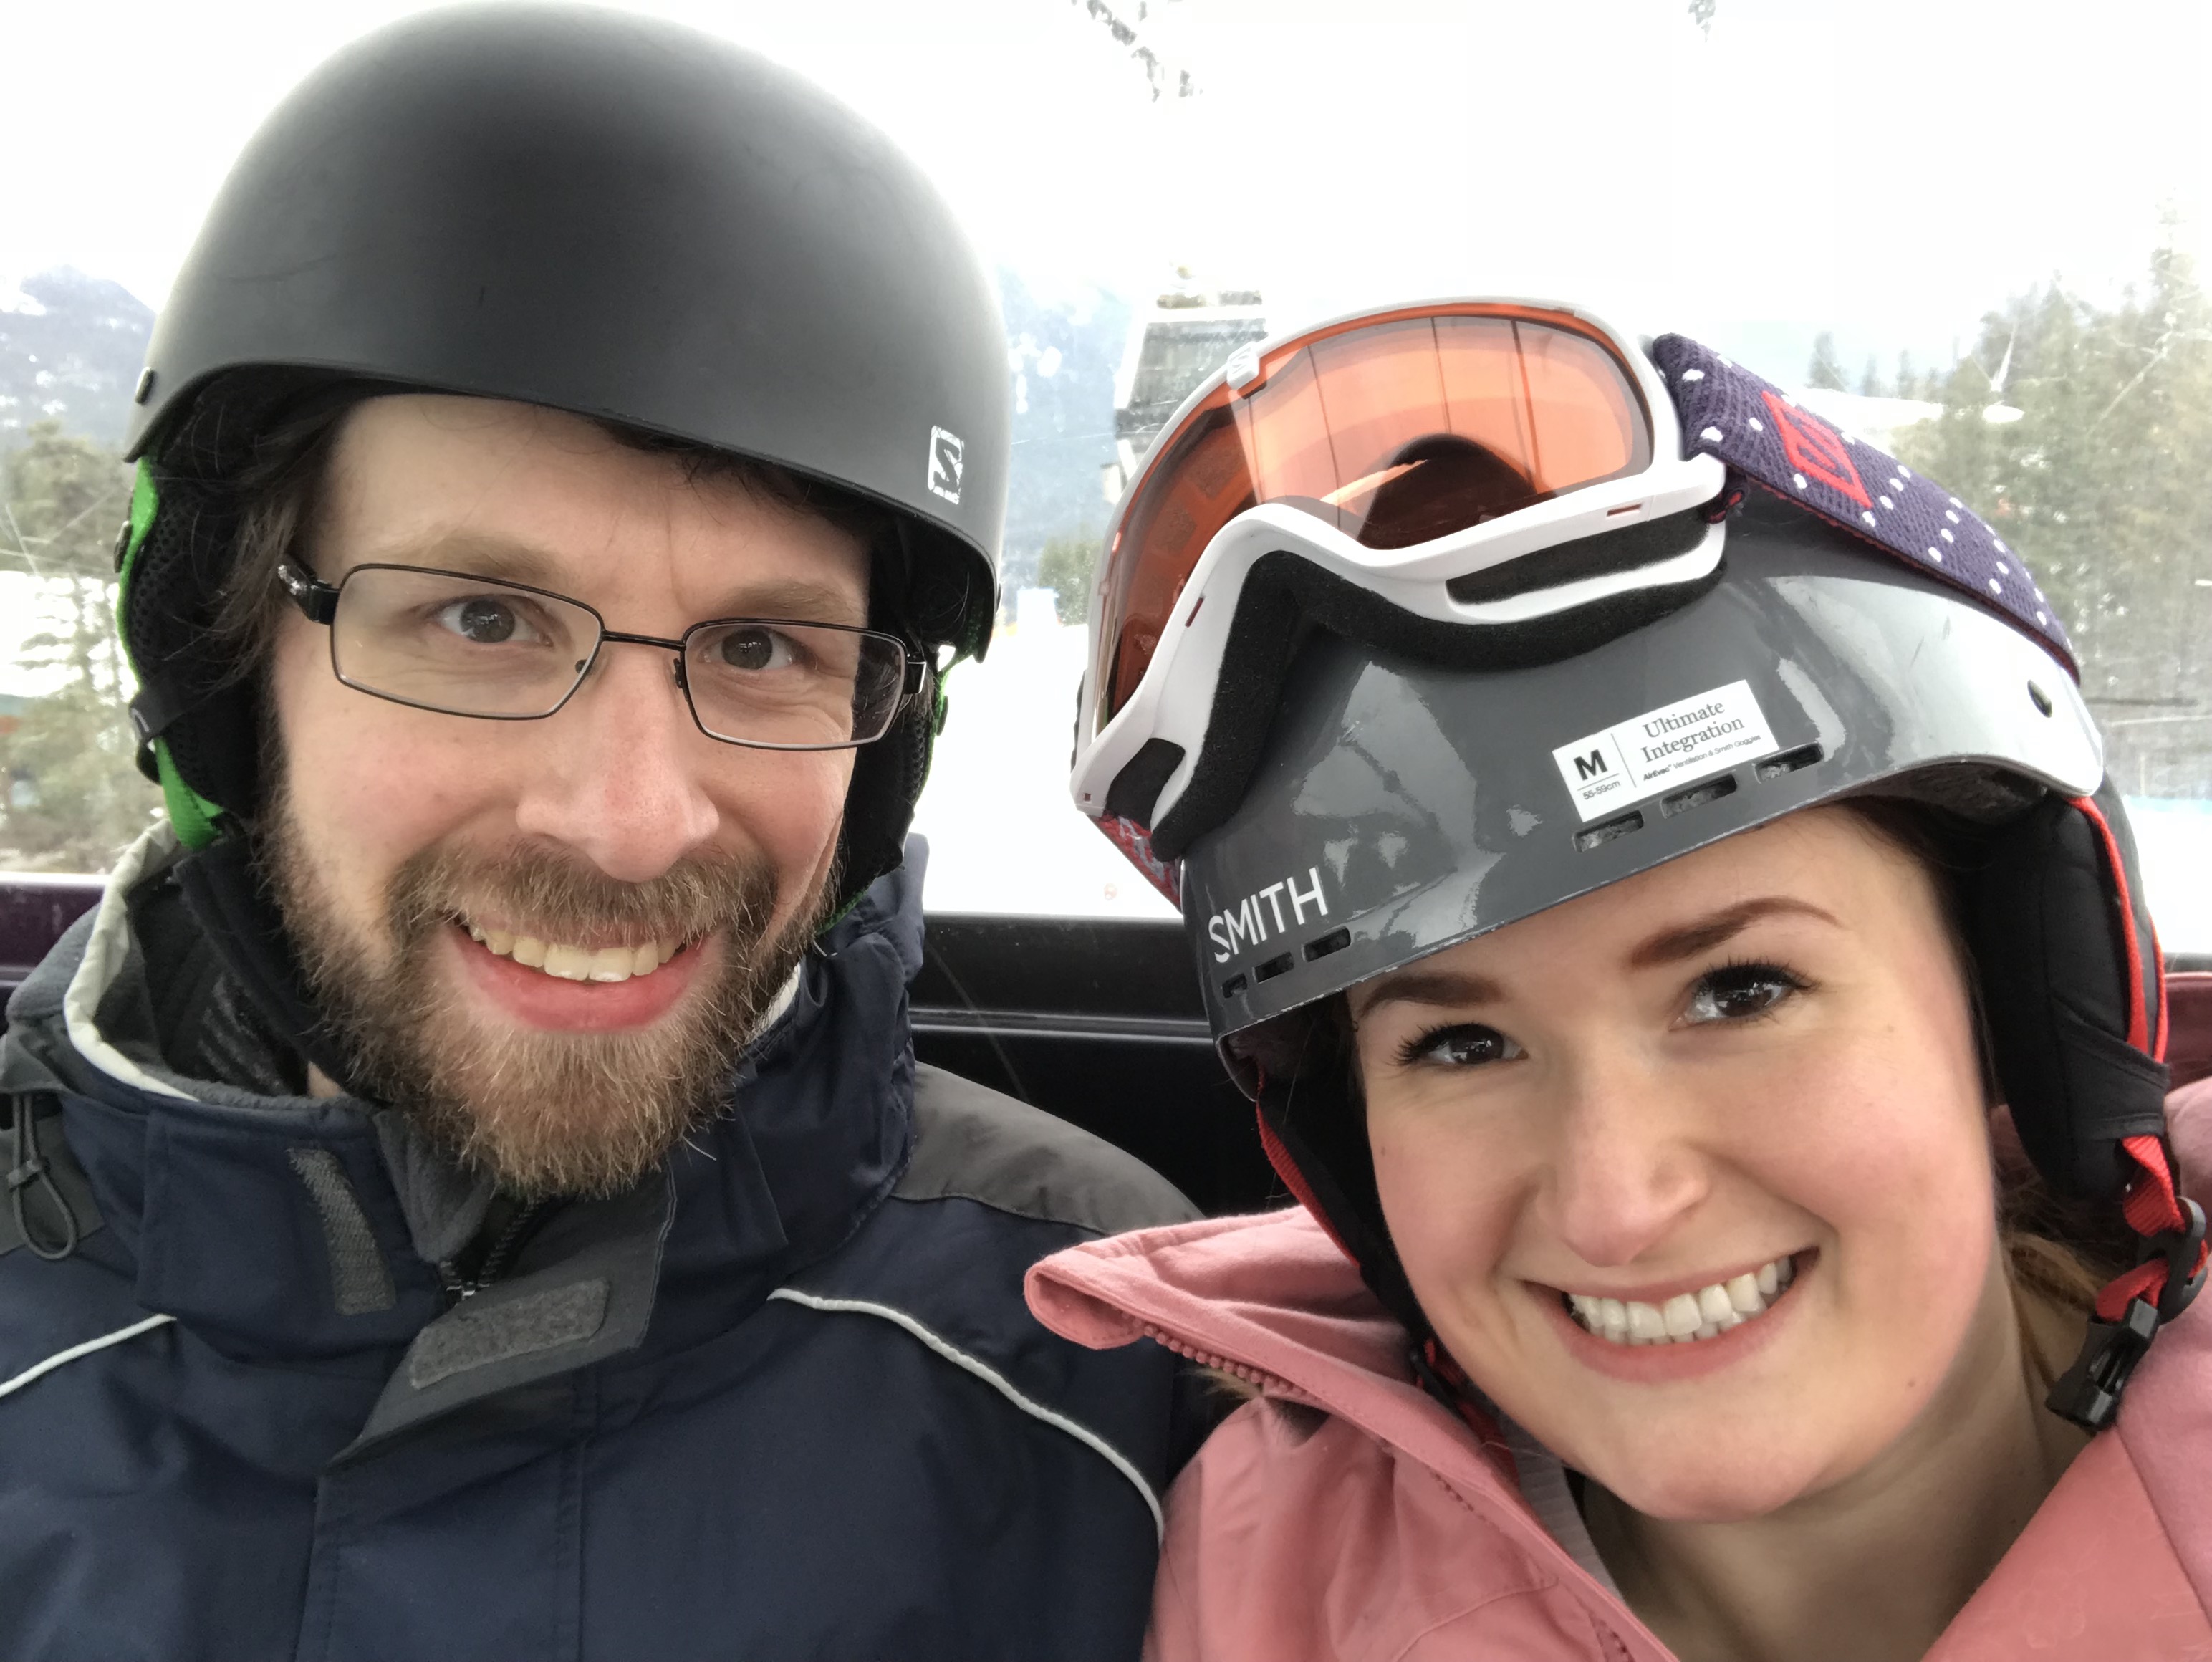
I was sooooo excited to try skiing for the first time over my birthday weekend. And then, when we made it to Whistler, I started having severe regret about my decision. What if I was too scared to do it? What if I hurt myself? I started playing through all of the scenarios, including if Jon broke his leg and I had to drive him back home.
Jon, being the patient and kind man that he is, told me if I didn’t like it, we didn’t have to complete the lesson, that neither of us would hurt ourselves, and he thought that we’d actually really like it. Mark April 14, 2018, on the calendar. Jon was right.
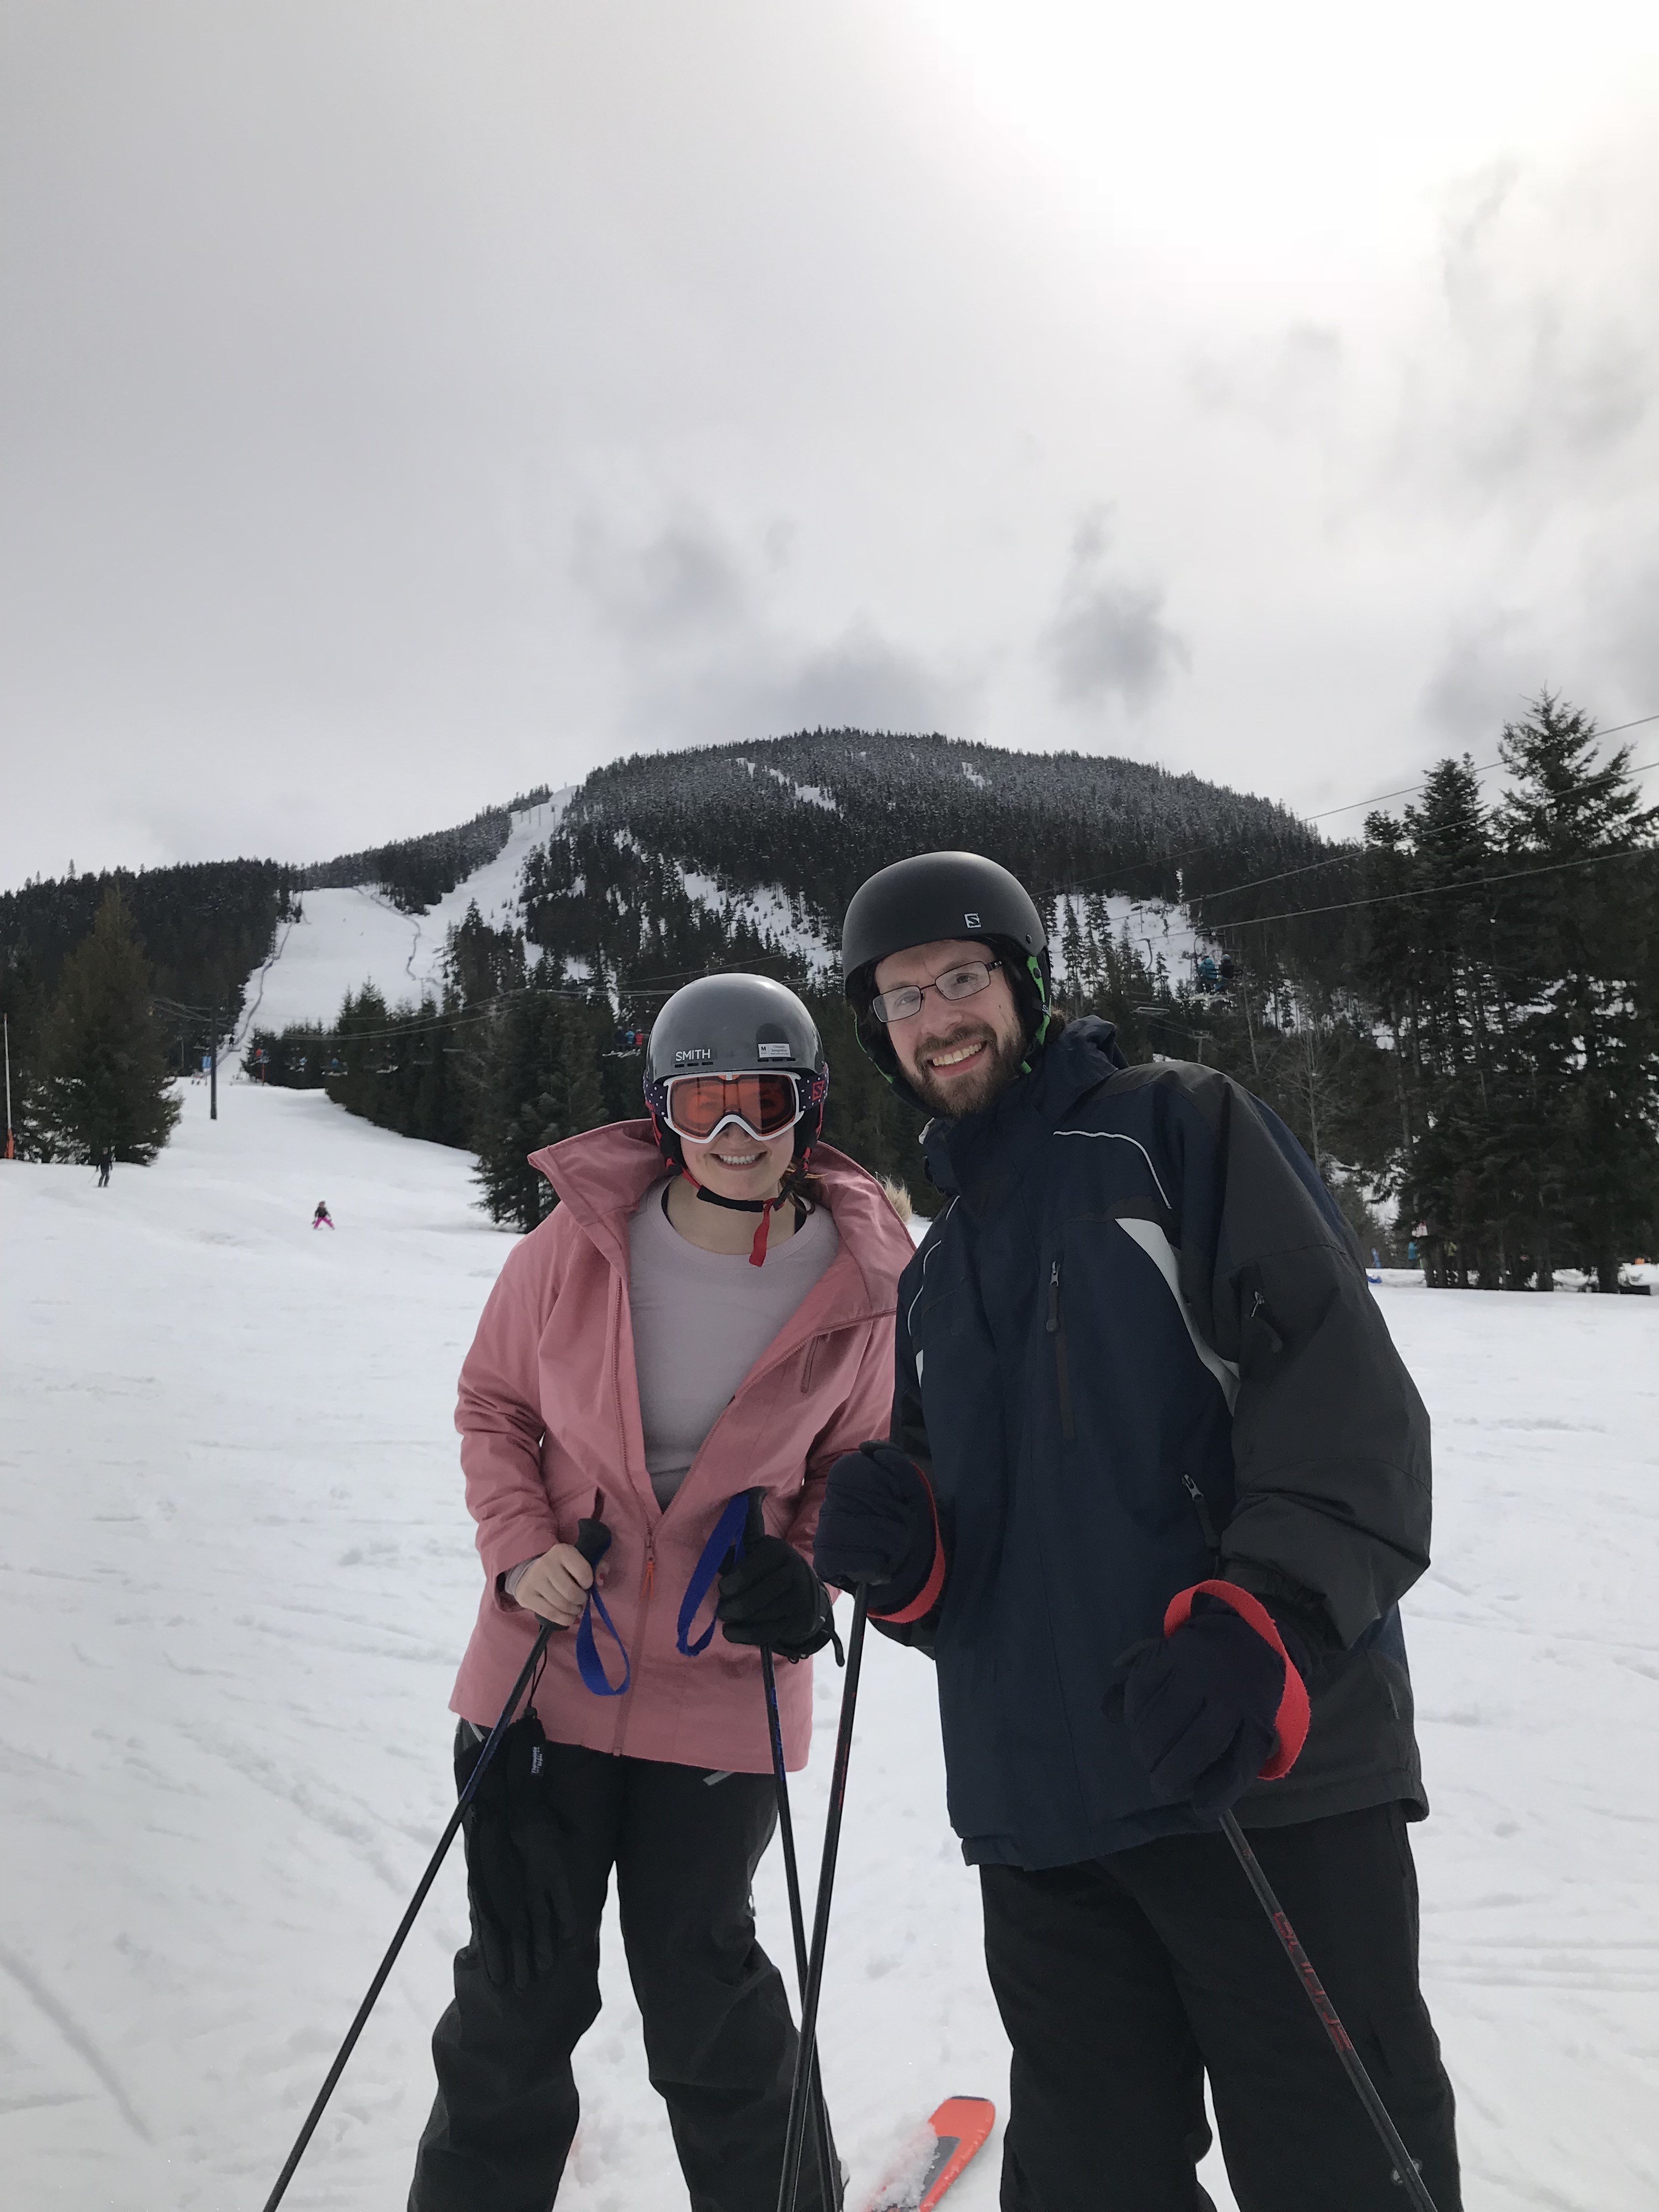
I was nervous, of course, but once we got fitted and headed up the mountain for our Max4 Adult Ski Lesson, I got more and more excited.
I love trying new and adventurous things, but I have a fear of the unknown so not knowing what to expect, what to wear, or how to plan for all scenarios didn’t set well. If you’re embarking on your first ski experience, read on for all the details!
What to Expect
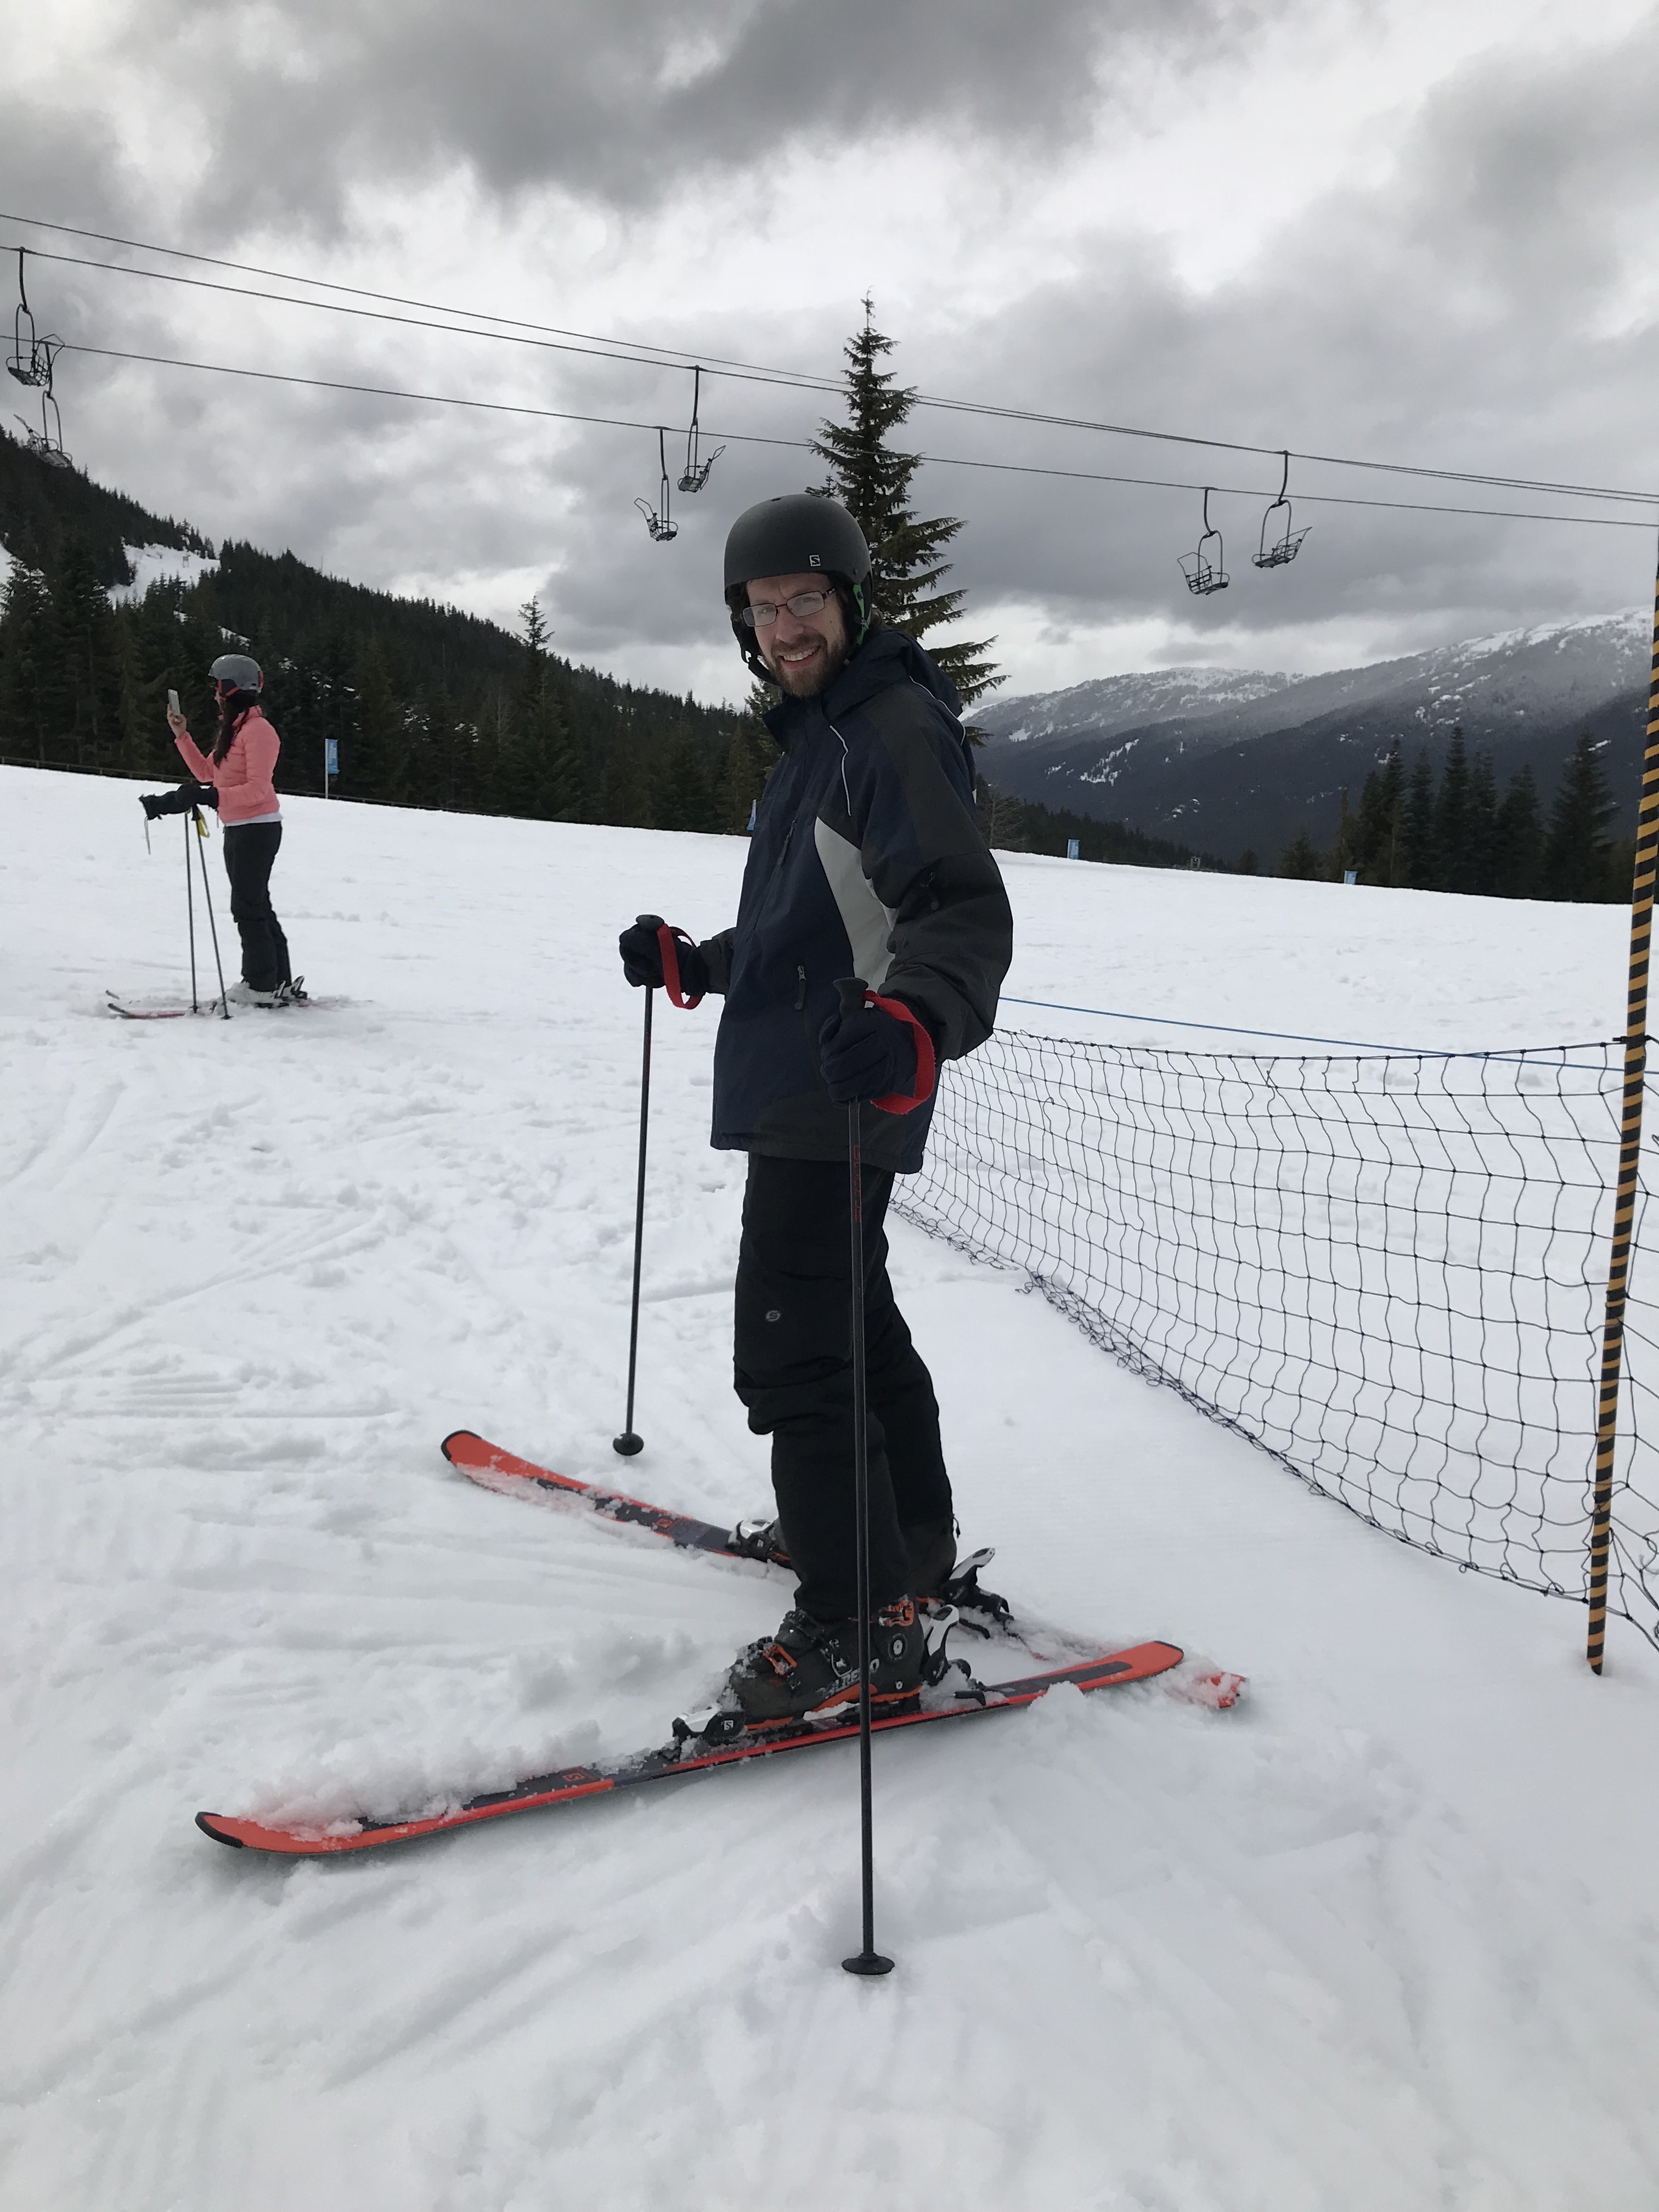
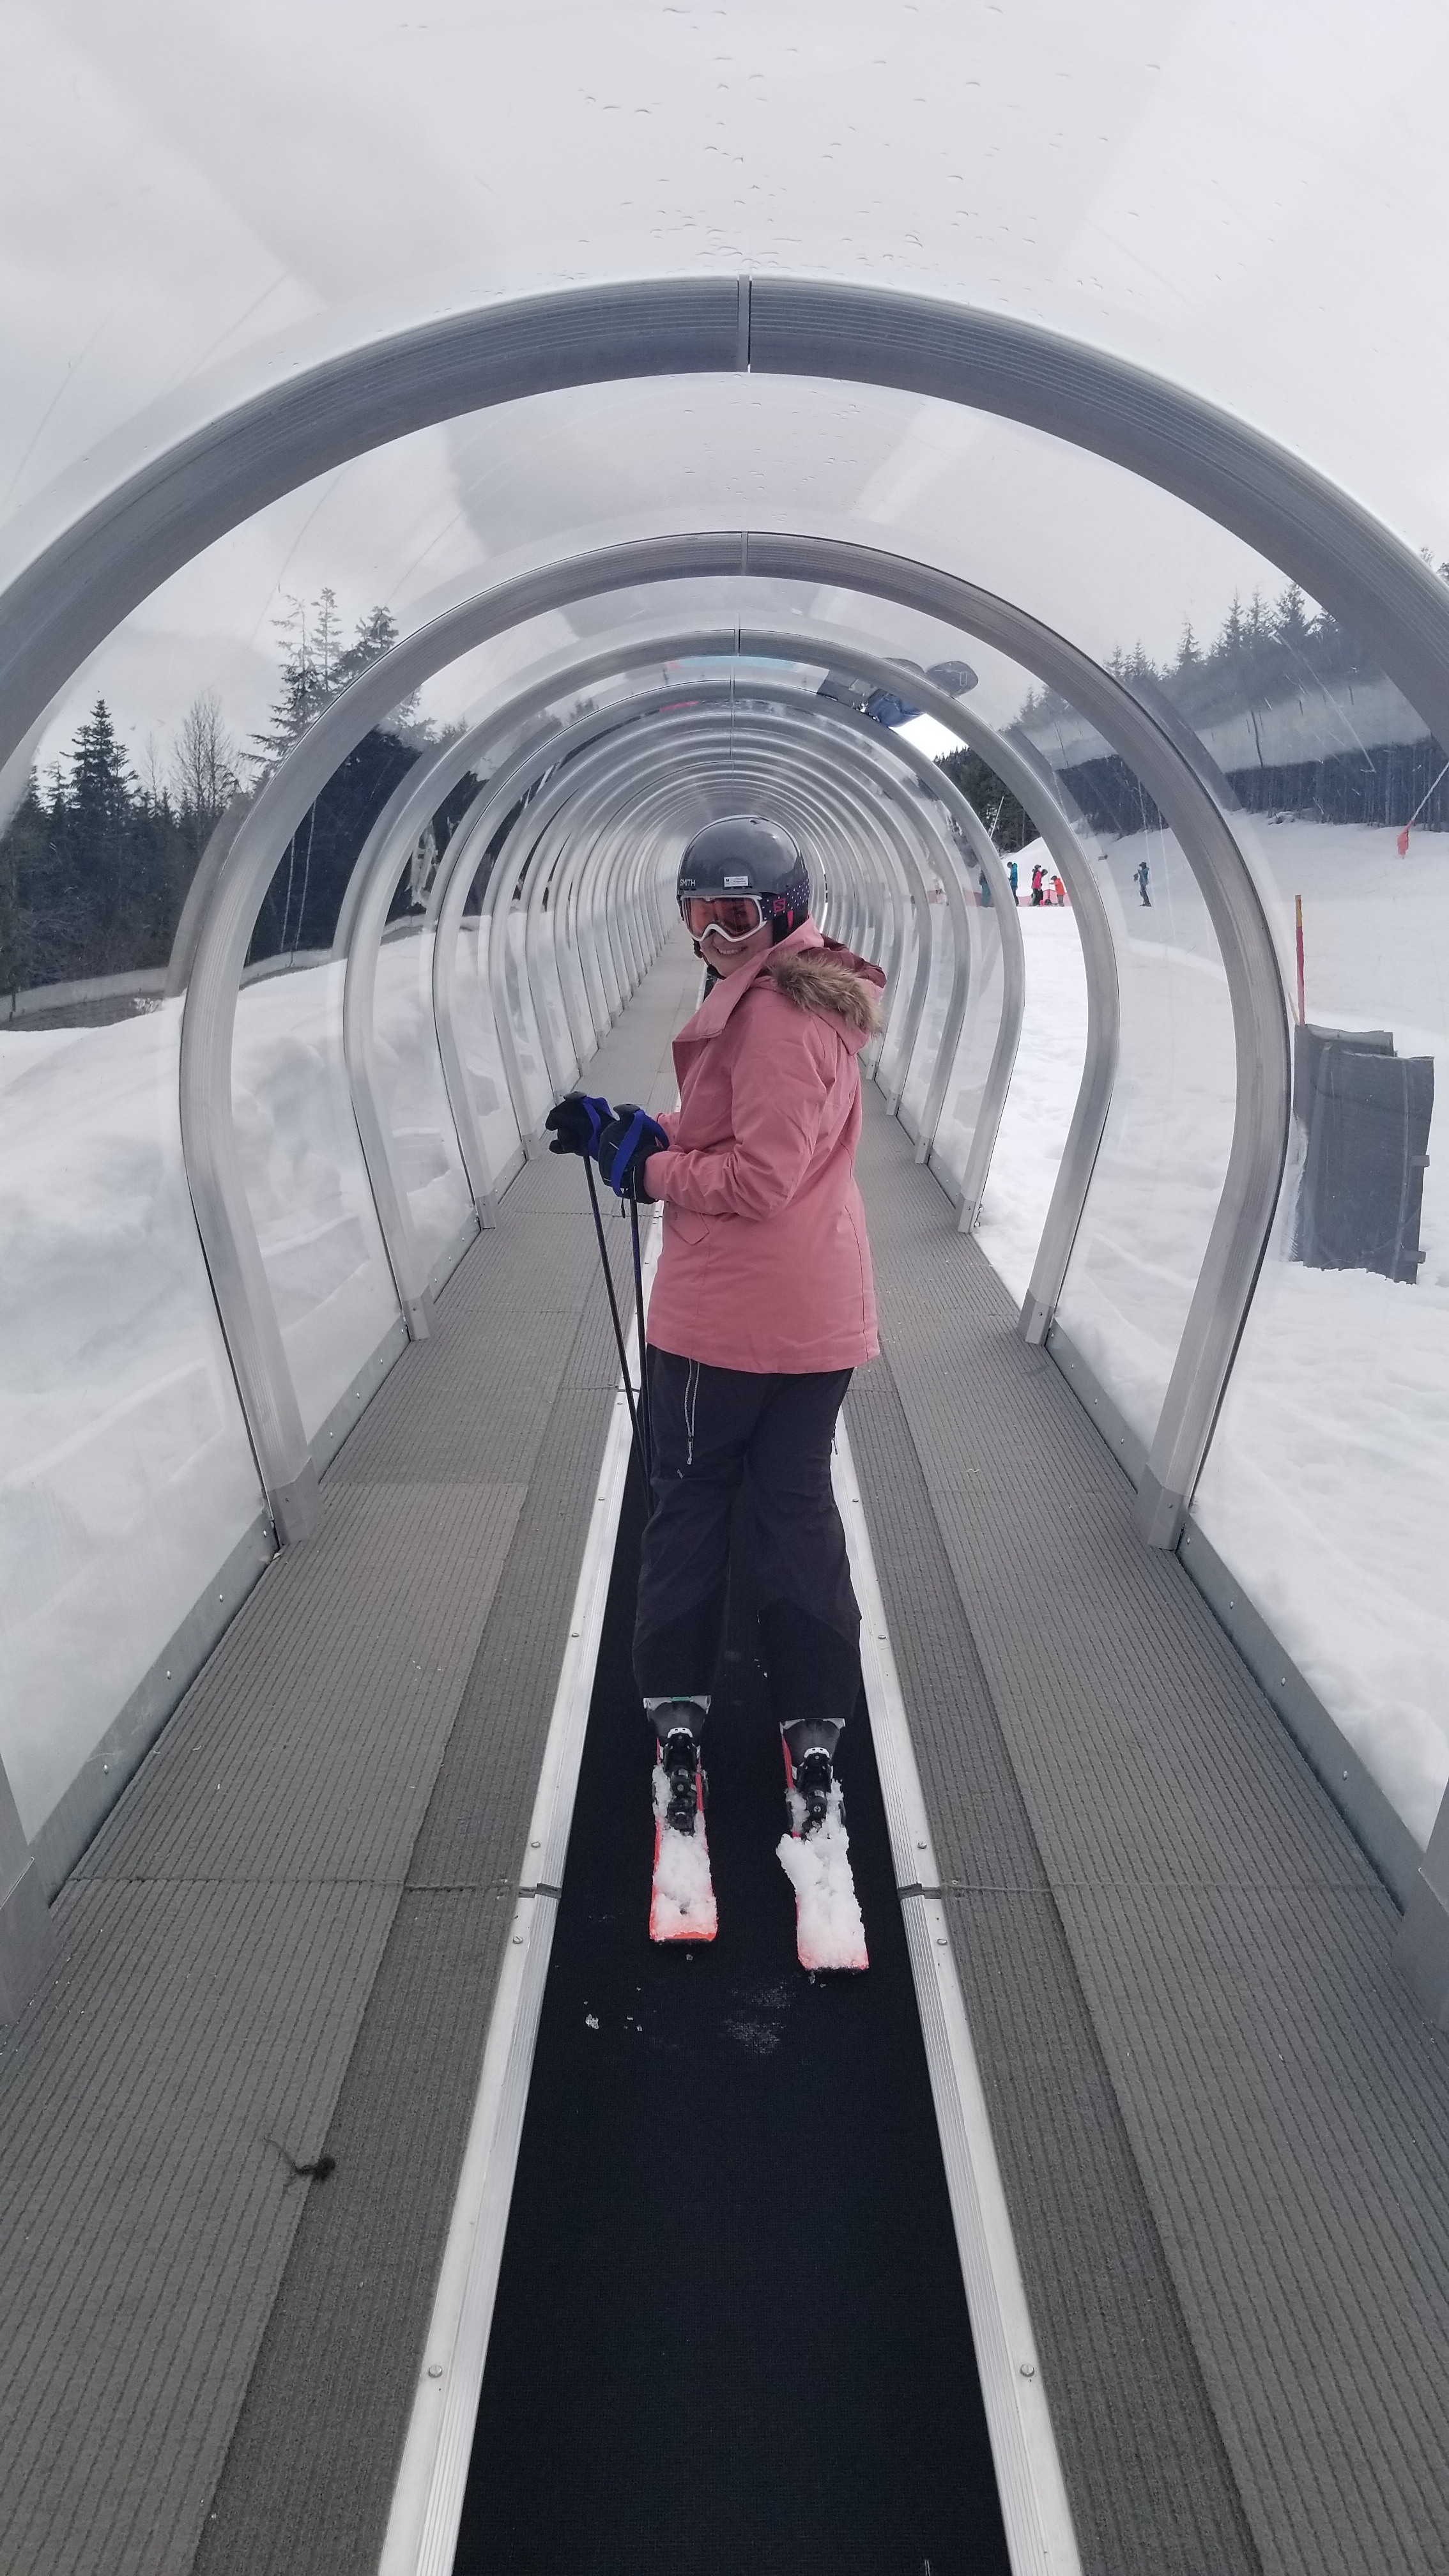
Our Max4 Adult Ski Lesson was the BEST way to go for first time skiers with absolutely no knowledge or experience. As the name implies, the Max4 Adult Ski Lesson at Whistler Blackcomb was a class for adults with a max of 4 students. We opted for the all day class (9am-3pm, with a break for lunch). Our entire day was spent on the bunny slopes, learning about our skis, how to clip in and out, learning basic moves like stopping and turning, and just generally becoming relaxed on the skis. The small group setting allowed us to feel comfortable with our group and get 1:1 attention with the instructor. We were both really grateful that our first time on the slopes was with a knowledgeable instructor and not us just out there trying to figure it out ourselves!
Here’s a few tips based on our first experience:
- You will fall. You may even run into someone (guilty).
- Bring sunglasses or goggles. More on what to wear below, but make sure to bring your own sunglasses or goggles.
- Pack snacks. Fill your pockets with beef jerky, protein bars, or other quick and convenient snacks. If you take a class you’ll get a “lunch break”. Food at the ski lodge is expensive, so bringing your own food is the budget friendly way to go.
- Have fun! Don’t worry about the others that are there. Everyone is learning on the bunny slopes and really patient.
- You’ll likely be sore the next day! I noticed my calves started to stiffen up shortly after the lesson and the next two days they were really tight. We also noticed some soreness in our grip from clenching onto the poles!
What to Wear
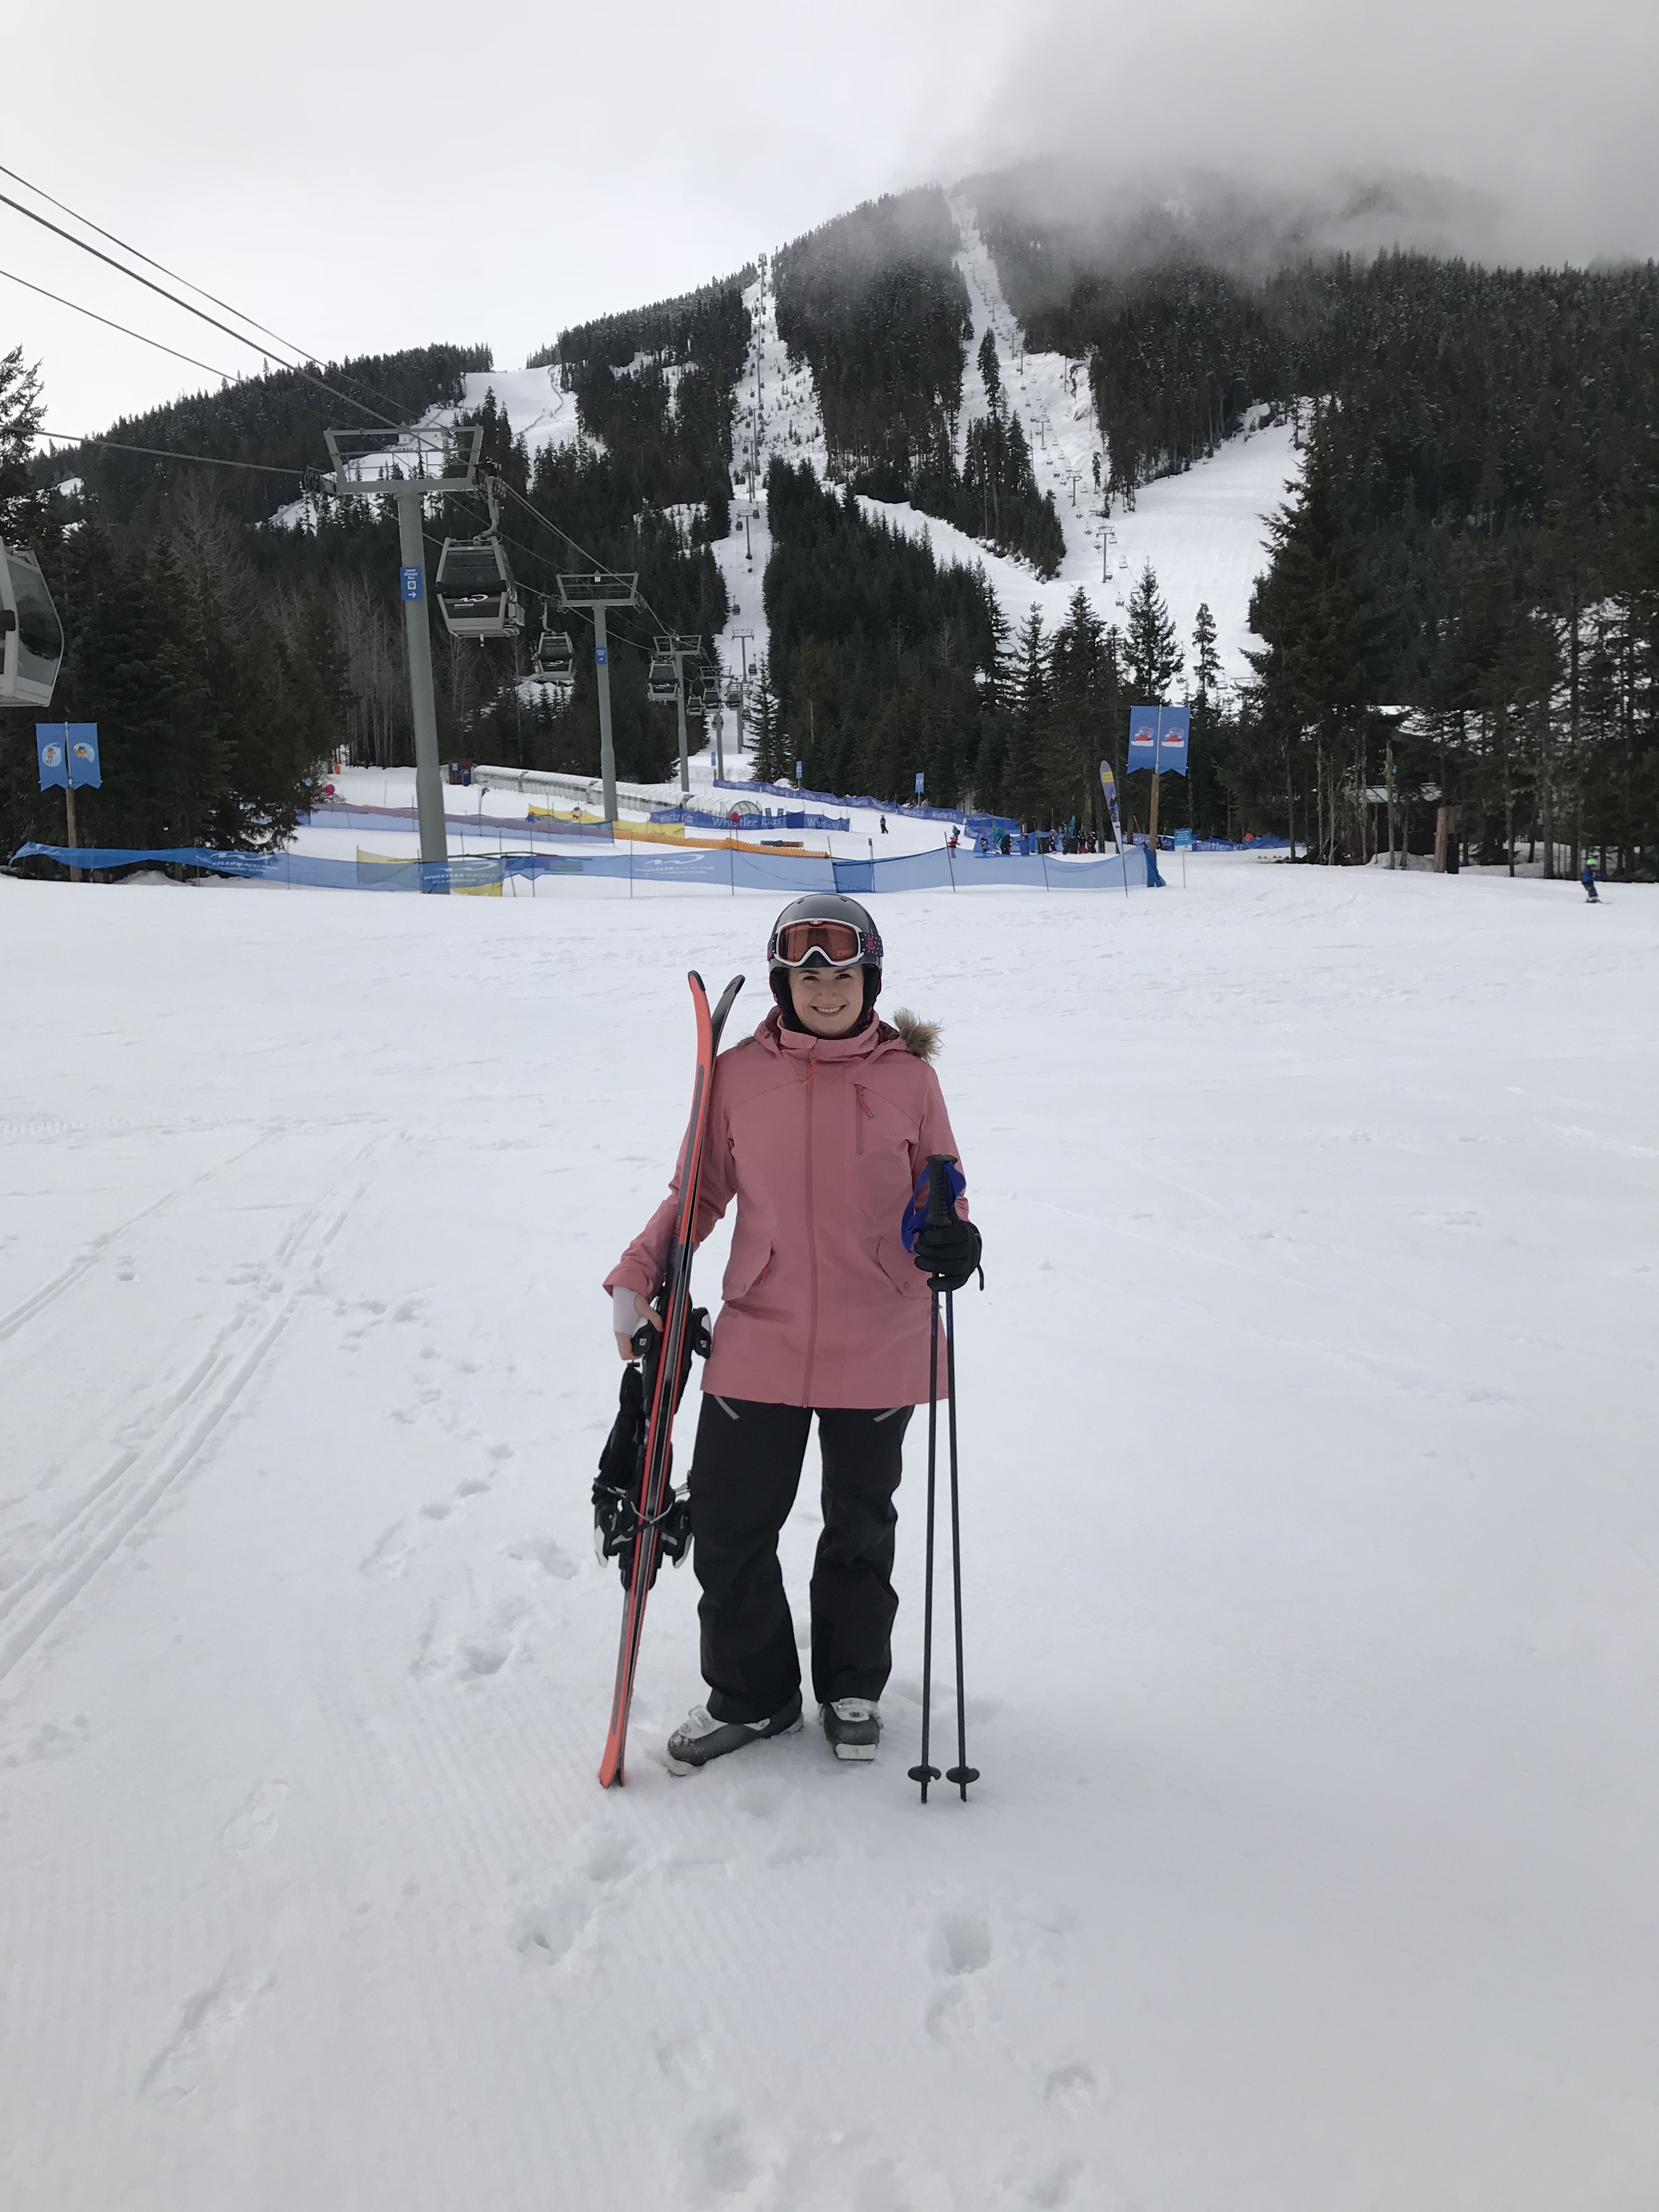
Obviously depending on time of year and weather, you may need to add or remove a layer. Since Jon and I were doing spring skiing, the weather was markedly warmer. I wore a pair of leggings, baselayer, and ski/snowboard pants, plus two pairs of wool socks. On top I wore a baselayer, long sleeve top, and a ski jacket with gloves. We were both plenty warm enough and likely could have got rid of at least one layer.
You can rent your gear at a number of locations, so there is no need to buy your equipment. Our rental included skis, boots, poles, and a helmet. It did not included goggles, so make sure to pack your sunglasses or buy a pair of goggles for eye protection. (If it’s your first time skiing you could likely get away with just wearing sunglasses.)
Be warned that ski boots are uncomfortable. I did end up with blisters on my legs from the boots and how tight they were. I was later told that nothing except your sock should be in the boot (e.g. baselayer does not go inside the boot). So I’d give that pro tip a try next time!
[show_shopthepost_widget id=”3106568″]
Created in partnership with Whistler Blackcomb


